A few months back I got round to hacking an Istax 100 to pieces and reassembling it with manual focus, shutter and aperture. Despite having posted almost nothing, I have got a lot of interest on Flickr, then Georg (Polapix) made his own version from my notes, and I thought I might as well write a wee bit about it.

a PhotoBooth snap of myself with the beast
I had originally wished to keep as much of the original Instax as possible, and just replace the shutter and exposure unit. I failed at this whilst trying to identify the flash trigger. I think the flash uses an IGBT chip, or is rather overly sophisticated for the camera. Also the flash control board seems to be combined with exposure and shutter control. Odd design, as usually even on digital compacts, from my experience, the flash board has been separate. Even in a Nikon SB600 the inverter board is separate from the control board. So, yea, trying to identify the trigger I ended up loosing all of the electronics within the Instax, blowing a couple of components.
But all was not lost. The barrel was not rigid enough to move the weight of the tiny Vaskar 105mm anyway, so it is best to have it glued in rigid.

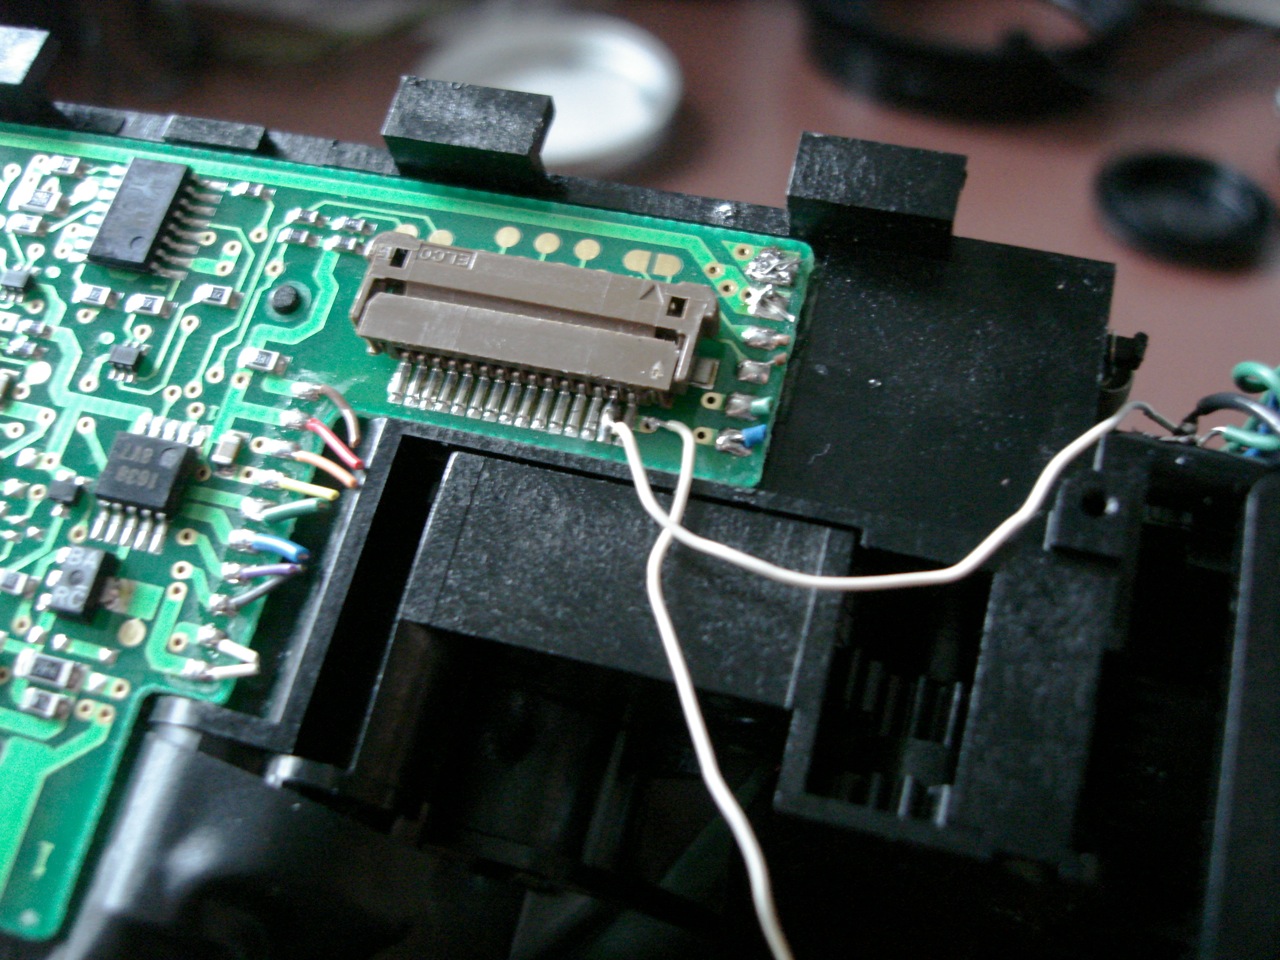
drawn in my diagram is at the bottom and back of the camera, on the lowest gear in the drive mechanism. it fits into a cam to break contact. what I have written as “shutter switch” I then re-wired through the bus to the PWR button, the red one, on the back of the door, as the eject, as I thought there was less of a chance of me hitting it by accident. Again, I identified the bus contacts by ohmmeter, and just use the lower circuit board to for the bus contacts. So the red button initiates contact, and the cam closes the circuit, continues its cycle, then breaks the circuit once the film is ejected. I would recommend that you don’t solder onto the bus contacts, as I did, as things are too small, and a bump later shorted this out and ejected half a pack of film. So look for larger solder points on the board, if you plan to use this switch. obviously using the existing shutter button would be easiest, as it is large and already has wires coming off of it. After I blew the main circuit board i just cut all of the wires connecting the boards to the battery, to avoid any issues. The diagram and notes are in this scan of my Moleskine. The camera is a bit of a hassle to use, as it is a clunky machine with a rather small viewfinder, however it can be used with studio lights, and does produce images. Below is one example.